Setup GuideInstall NoLagVPN on PlayStation 5
Configure your PlayStation 5 in minutes and start dominating bot lobbies
What You Will Need
Access to PlayStation 5 Settings
You will update the DNS settings in your console network configuration
Secondary Device
A phone, tablet, or laptop on the same network to activate NoLagVPN and select your server
DNS Configuration
Update your network settings on PlayStation 5
Go to "Settings" and select "Network."
Select "Settings" and choose "Set Up Internet Connection."
In the "Advanced settings" screen, set the "DNS settings" to "Manual."
For the Primary DNS settings, enter:
(will be shared with you when you purchase the subscription)
For the Secondary DNS settings, enter:
Select "Ok" in the lower-left corner of the screen to confirm the changes.
Wait for the PS5 to test the connection. You're done!
Important Notes
Activate NoLagVPN
Use your secondary device to complete activation
You need to be connected to the same network, so that you share the same IP address
Go to your NoLagVPN dashboard on your device:
Choose an activation method. We recommend Use this device, which will automatically detect your IP.
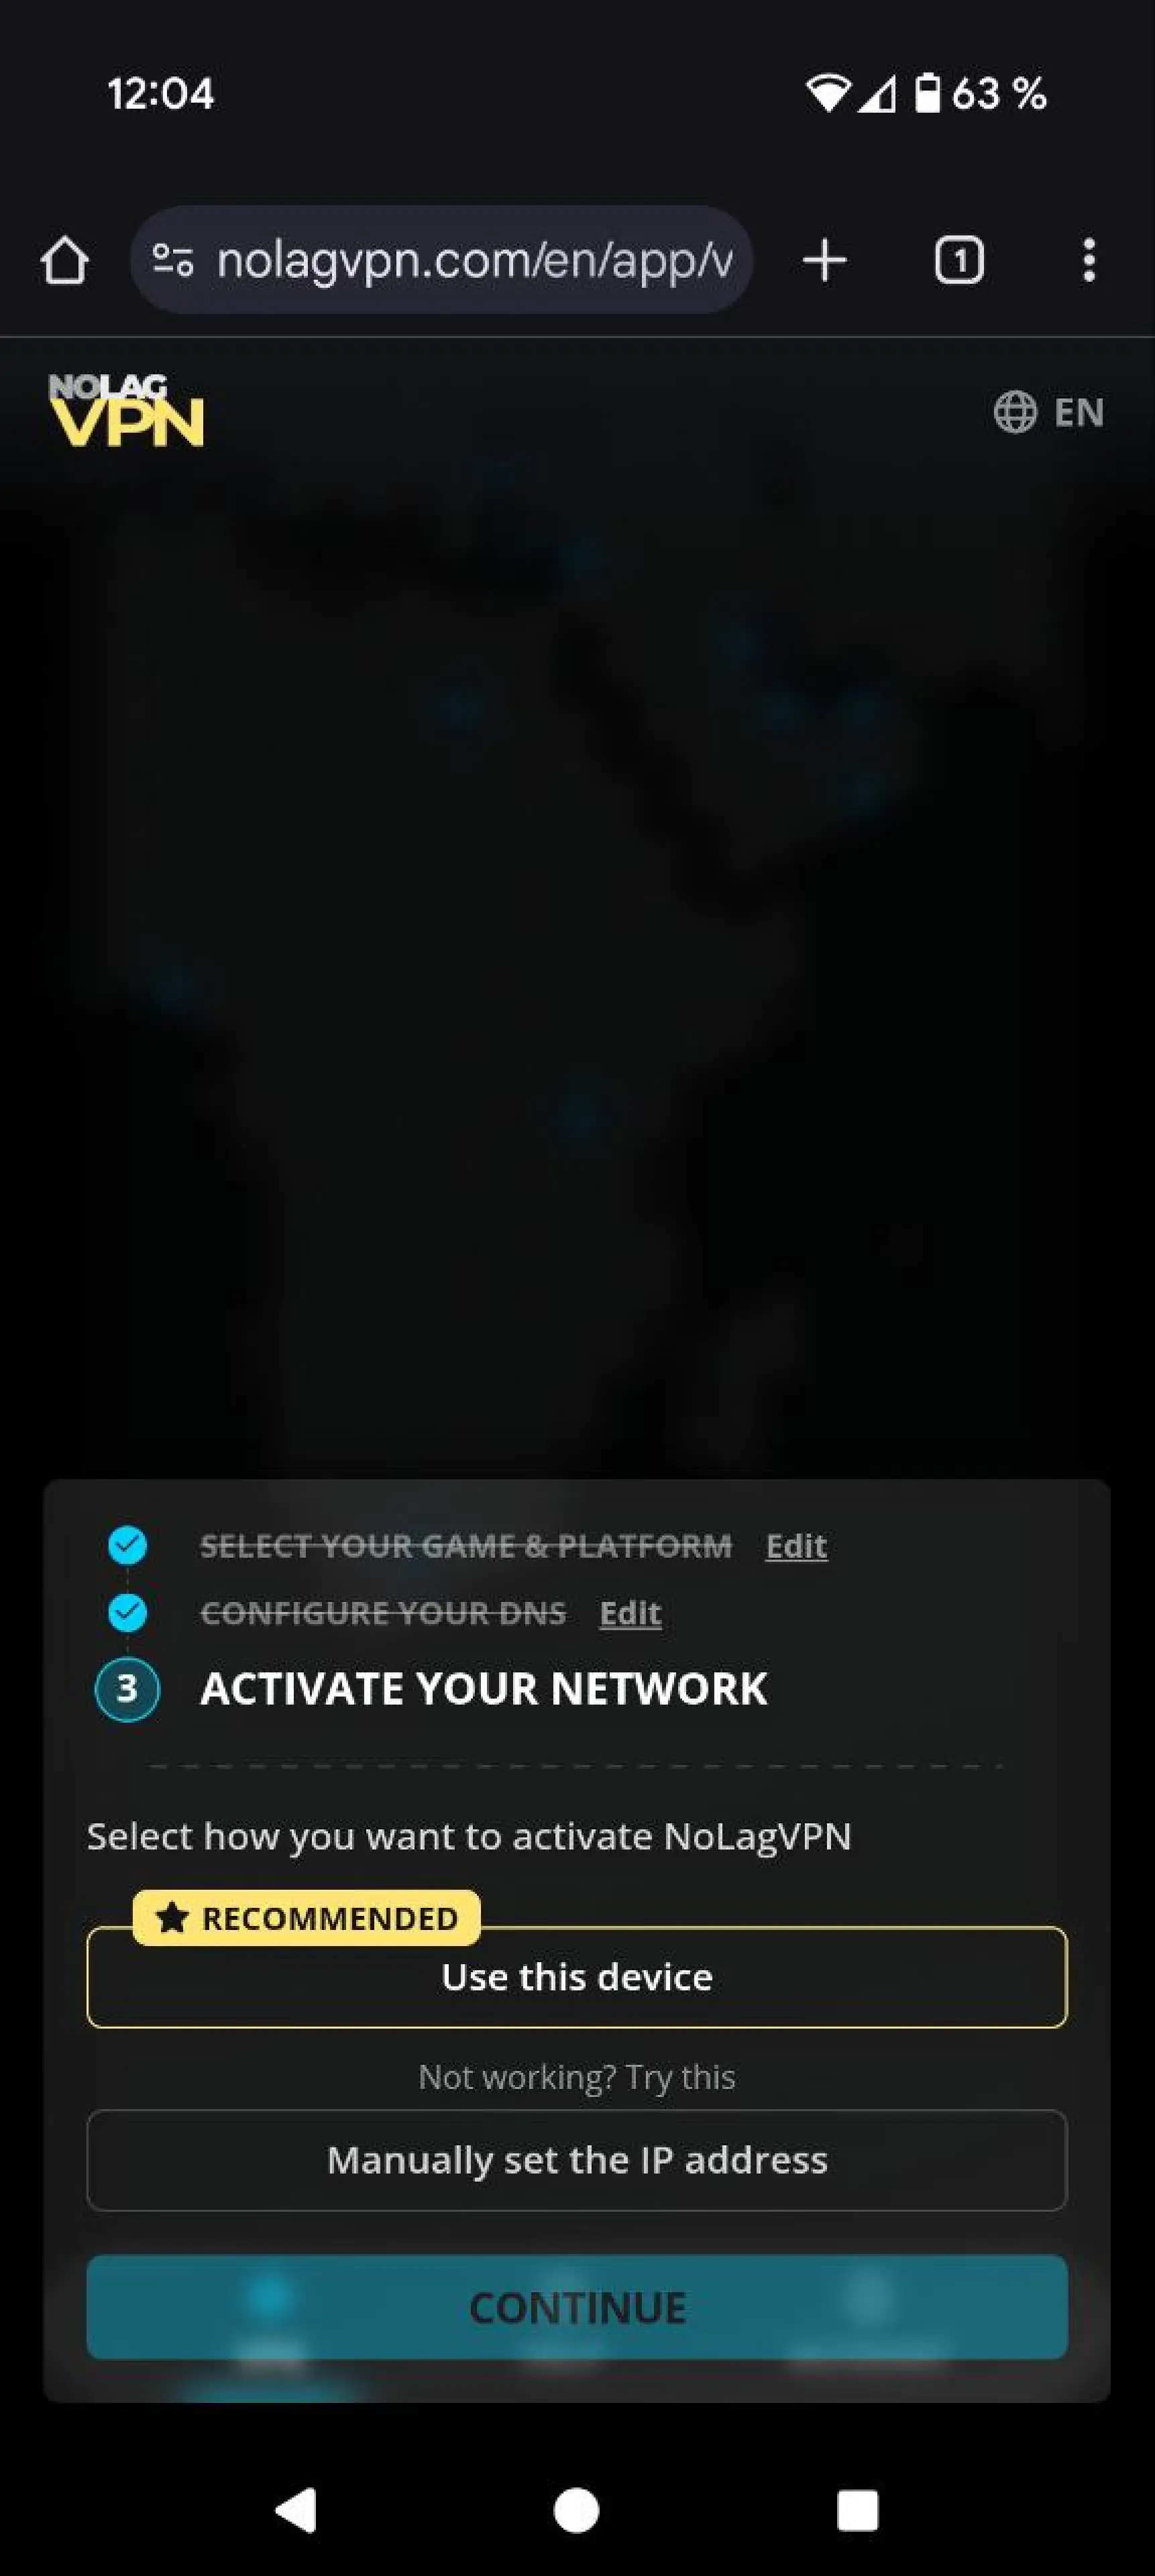
Select the location you want to use
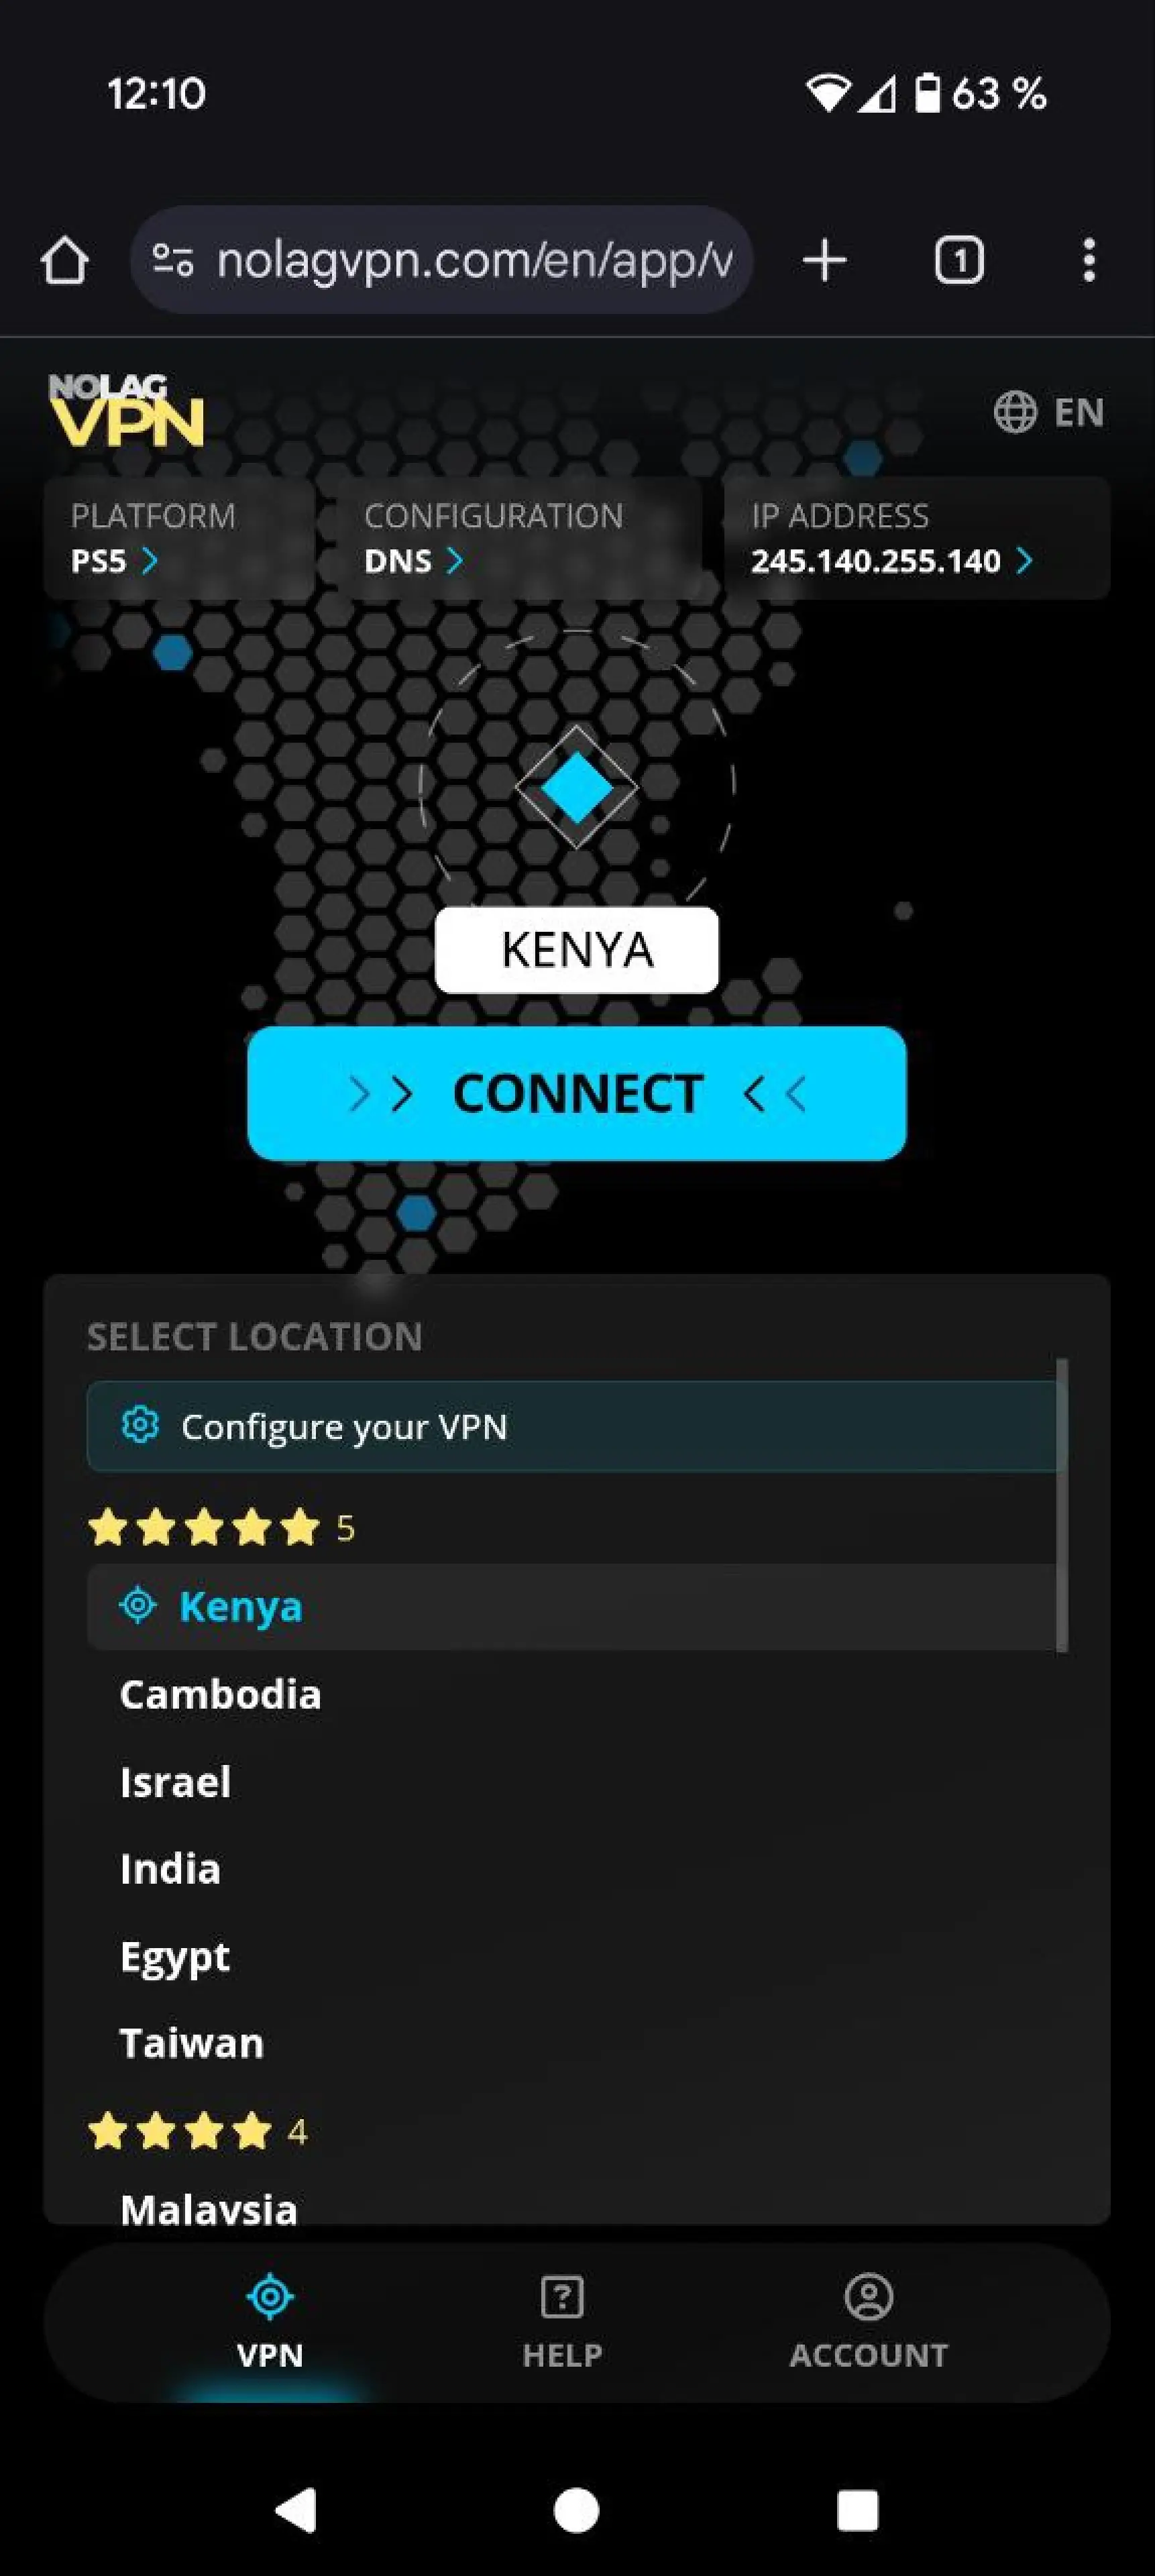
Wait 30 seconds for the changes to take effect
How It Works
Understanding DNS-based VPN routing
Instead, you just switch the DNS settings to use an IP address from NoLagVPN (you get this IP when you subscribe). This means only the internet traffic associated with Warzone game servers or matchmaking services will go through the VPN.
This is different from most VPNs, where everything you do online goes through the VPN. With this DNS tweak, it's just Warzone stuff that uses the VPN.
As a result, you can now drop into bot lobbies while your normal internet activities, like web browsing or streaming, will still be fast because it uses your regular connection.
Ready to get bot lobbies?
Start dominating easier lobbies today